
The Underwater Photography Process, Part 3: Post-Production
Alright, you’ve planned the shoot and taken the photos. Now what?
This is where your artistry comes in.
It’s your job, as the photographer and editor, to bring your images closer to what you actually saw in real life, and then make any additional enhancements you choose.
And before we go any further, let’s clear something up.
In a world where AI is everywhere, and people love to hate on “photo editing,” it’s important to understand this:
Cameras do not see colour the way our eyes do.
And underwater… that difference becomes even more extreme.
Yes, there are in-camera settings that help guide how your camera reads color, and underwater strobes help (that’s more advanced), but ultimately, that responsibility falls on post-production.
So when I say editing, I don’t mean:
• smoothing out the wrinkles of a turtle
• making it look like your subject dove deeper than they actually did
• or altering bodies to fit some unrealistic standard
What I mean is this:
Helping the image become what it was meant to be when you took it.
From composition, to color, to light, to balance.
Editing is not about creating something that wasn’t there.
It’s about guiding the viewer through what was.
Before we get into it, a quick note:
This post won’t dive into the full technical breakdown of editing underwater images. That honestly deserves its own series… and now that I’m writing this, it might actually be coming next 😏
For now, this is about understanding the post-production process as a whole.
The 4 Key Parts (and one bonus)
There are four essential parts to post-production, plus one that deserves an honorable mention:
1. Transferring your photos
2. Organizing your files
3. Culling
4. Editing
5. Re-editing
1. Transferring Your Photos
This might sound obvious, but I’ve seen way too many photographers lose their work because they skipped this step or did it carelessly.
Please do not work directly from your memory card.
Memory cards get lost.
Files get corrupted.
Cameras overwrite data.
And just like that, your photos are gone.
Transfer your files to your computer and, ideally, to an external hard drive.
This is not just about organization.
This is about protecting your work.
2. Organizing Your Files
I know… not the sexiest part of photography.
But it might be one of the most important.
Find a system that works for you, and stick to it until it becomes second nature.
Here’s what I do:
I organize everything by month and year.
Example: March 2026
Inside that folder, I create subfolders for each shoot. From there, I break things down further if needed:
• Photo vs Video
• Underwater vs Beach
• And always an “EDITED” folder (or “EDITADAS”… because my brain runs on Spanish and Spanglish 😅)
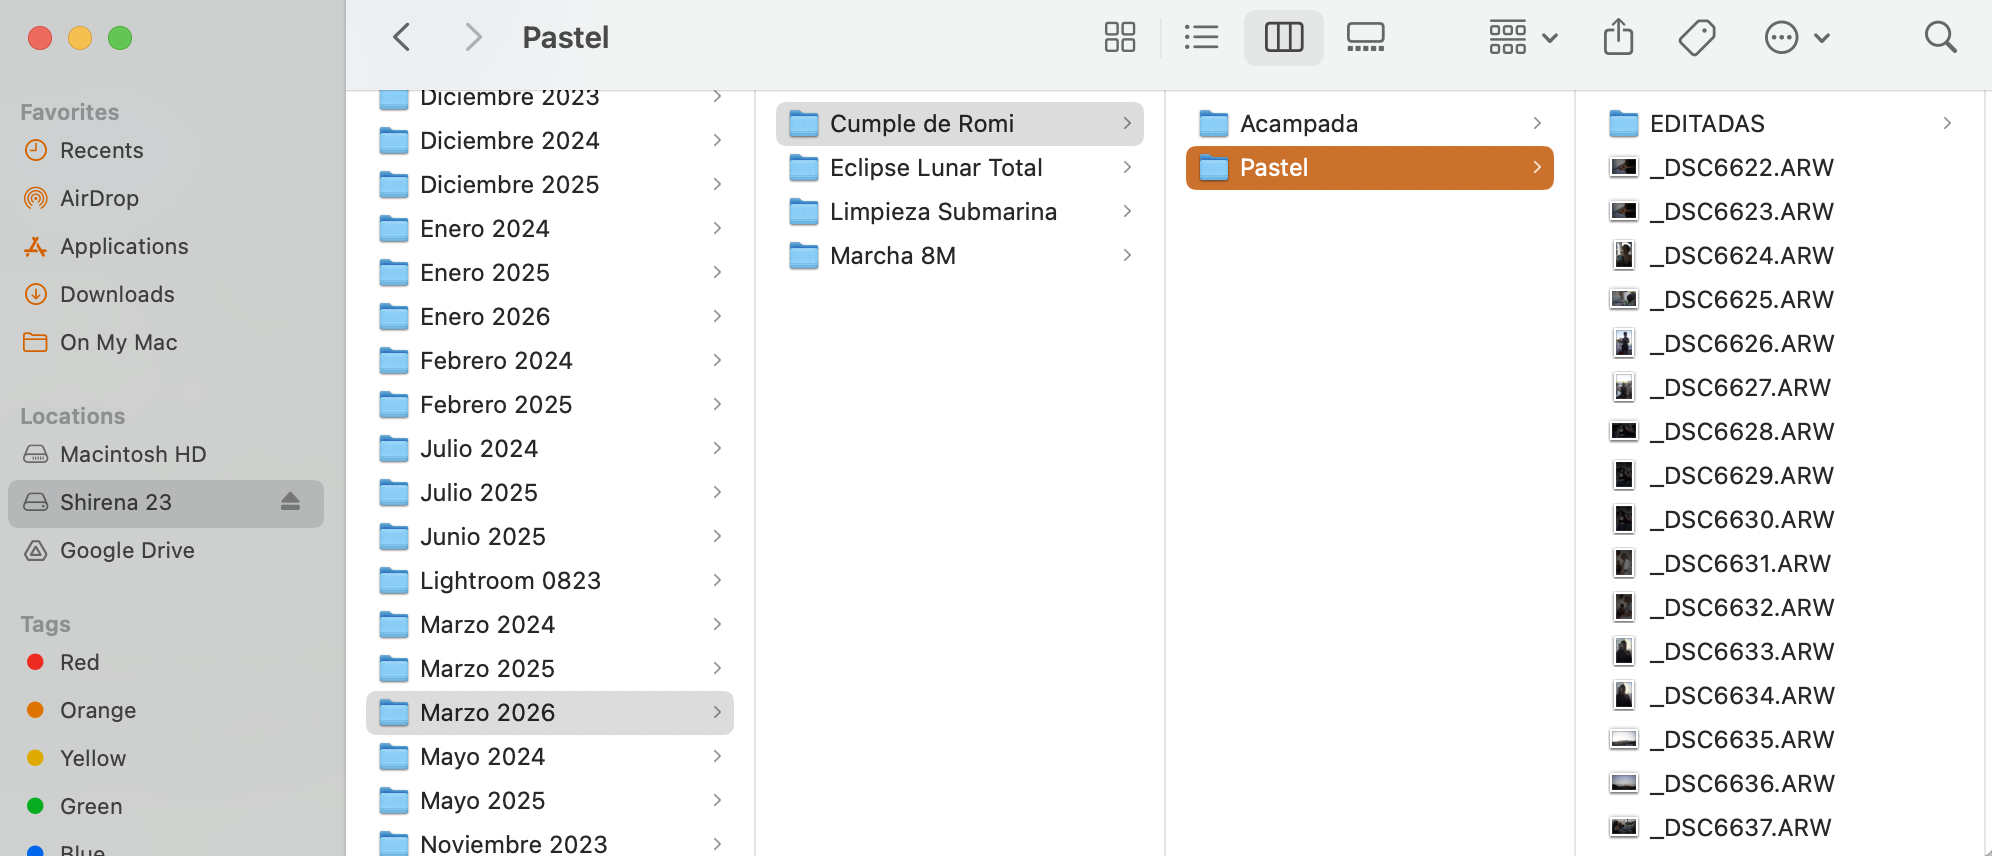
For example:
• Romina’s birthday → Camping / Cake → RAW + EDITED
• Total Lunar Eclipse → RAW + EDITED
• Underwater cleanup → Underwater / Beach → EDITED
• Women’s March → RAW + EDITED
This system makes it incredibly easy to find anything, anytime.
I also label my hard drives based on the date range they contain.
Future you will be very grateful for this.
3. Culling
Ah yes… my least favorite part 😂
Culling is the process of selecting the images you actually want to edit.
And while I sometimes avoid it like the plague, it’s essential.
This is where you:
• remove the obvious misses
• narrow things down
• and choose your strongest images
I use Lightroom Classic, so my workflow is based around catalogs.
Lately, I’ve been using AI-assisted culling as a starting point. Not to replace my judgment, but to speed things up.
Lightroom’s Assisted Culling has honestly been a game-changer. It lets you filter images before importing them, which saves a ton of time and space.
From there, I refine using 3-, 4-, and 5-star ratings (I don’t even bother with 1- and 2-star ratings). I then continue culling in survey view in LrC, and the ultimate picks are flagged. Those flagged images will be the ones I edit.
If this is for a client, I usually will add colour ratings as well: red for their pics and blue for the extras I throw in (professional tip: always throw in extra images - it’s a nice surprise for your clients).
If you’re not using Lightroom, software like Imagen can also help. Full transparency, though, I do work with them part-time. That said, I still treat AI as a starting point, not the final decision-maker.
You still need your eye. Always.
4. Editing
The juicy part.
And also the part where underwater photography really becomes what it’s meant to be.
Because here’s the thing:
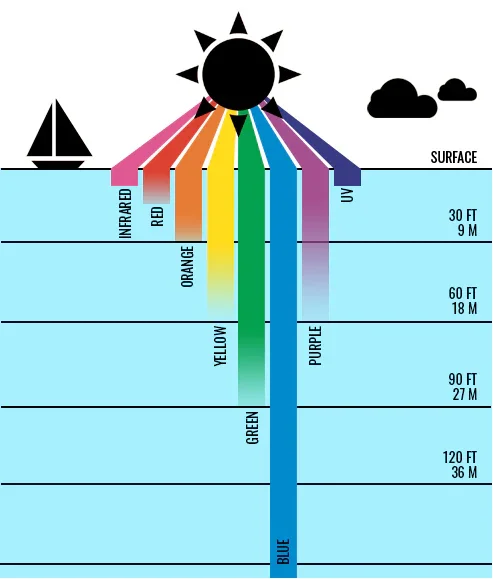
Colour behaves very differently underwater.
Water absorbs light, acting like a natural filter. The deeper you go, the more colour you lose.
Here’s a simplified breakdown:
• At 4.5–6 meters: reds disappear
• At 7.5–9 meters: oranges fade
• At 10–18 meters: yellows fade
• At 21–27 meters: greens begin to fade
• Beyond that: everything shifts toward blue
By around 30 meters, most colours are gone.
By 60 meters, even blue starts to disappear.
This happens because longer wavelengths, like reds, are absorbed first, while shorter wavelengths, like blue, travel deeper.
So what does that mean for you?
It means that when you’re editing underwater photos, you’re often bringing back colours that were lost, not inventing them.
This is why shooting in RAW is so important.
You’re working to:
• restore skin tones
• rebalance color
• reduce that heavy green or blue cast
• bring the image closer to what your eye experienced
And yes, this takes practice.
Your first edits might feel a little off. That’s normal.
Over time, you’ll start to understand:
• which colours to bring back
• how different skin tones behave underwater
• how to keep things natural instead of overdone
Because that’s the goal:
Natural, balanced, true to the moment…
Before you choose to push it creatively.
5. Re-Editing (The Underrated One)
This one doesn’t get talked about enough.
As you grow as a photographer, your eye changes.
What you edited a year ago might not reflect your style today.
And that’s okay.
Technologies improve, and you may now be able to accomplish what was previously limited.
Going back and re-editing old work is one of the best ways to:
• track your progress
• refine your style
• and elevate your portfolio
Post-production is where everything comes together.
It’s where your vision gets clarified.
Where your intention becomes visible.
Where your work becomes yours.
And just like every other part of the process, it takes time, patience, and practice.
Next up:
We’ve now covered the full underwater photography process.
But if you want to go deeper…
We might just have to talk about editing underwater images properly.
Wishing you salty sunshine 🌊✨
Shirena