
The Underwater Photography Process, Part 2: The Shoot
It’s so much more than knowing how to take good pictures…
Alright, I covered Pre-Production in my last blog post. If you missed it, you can read it here. Now let’s get into the nitty-gritty of part two of the underwater photography process: The Shoot.
Before we dive in, a quick recap.
Every shoot, whether on land or in the ocean, has three essential phases:
Pre-production
Planning what you want to create. Mood boards, models, locations, outfits, timing, light, logistics. The thinking part.
The shoot
Where the magic and chaos happen. You’re in the water, holding your breath, chasing light, fish, or floating humans, hoping the plan survives contact with reality.
Post-production
The love-hate phase. Organizing, culling, editing, color correcting, and bringing the images back to life.
Each phase can make or break a shoot.
And this phase right here?
The shoot is where preparation ends and presence begins.
You can plan everything perfectly. But once you’re submerged, the ocean decides how this story unfolds.
You’re ready… or so you think
You’ve set everything out the night before. Your batteries are charged. Your housing is sealed. You’ve replayed the shots in your head. You took screenshots of your Pinterest board in case there’s no service. You know exactly which shot you really want.
You’re ready.
Now let’s split this into two scenarios:
• If your subject is a person
• If your subject is wildlife
Because these are two very different dances (or dives?).
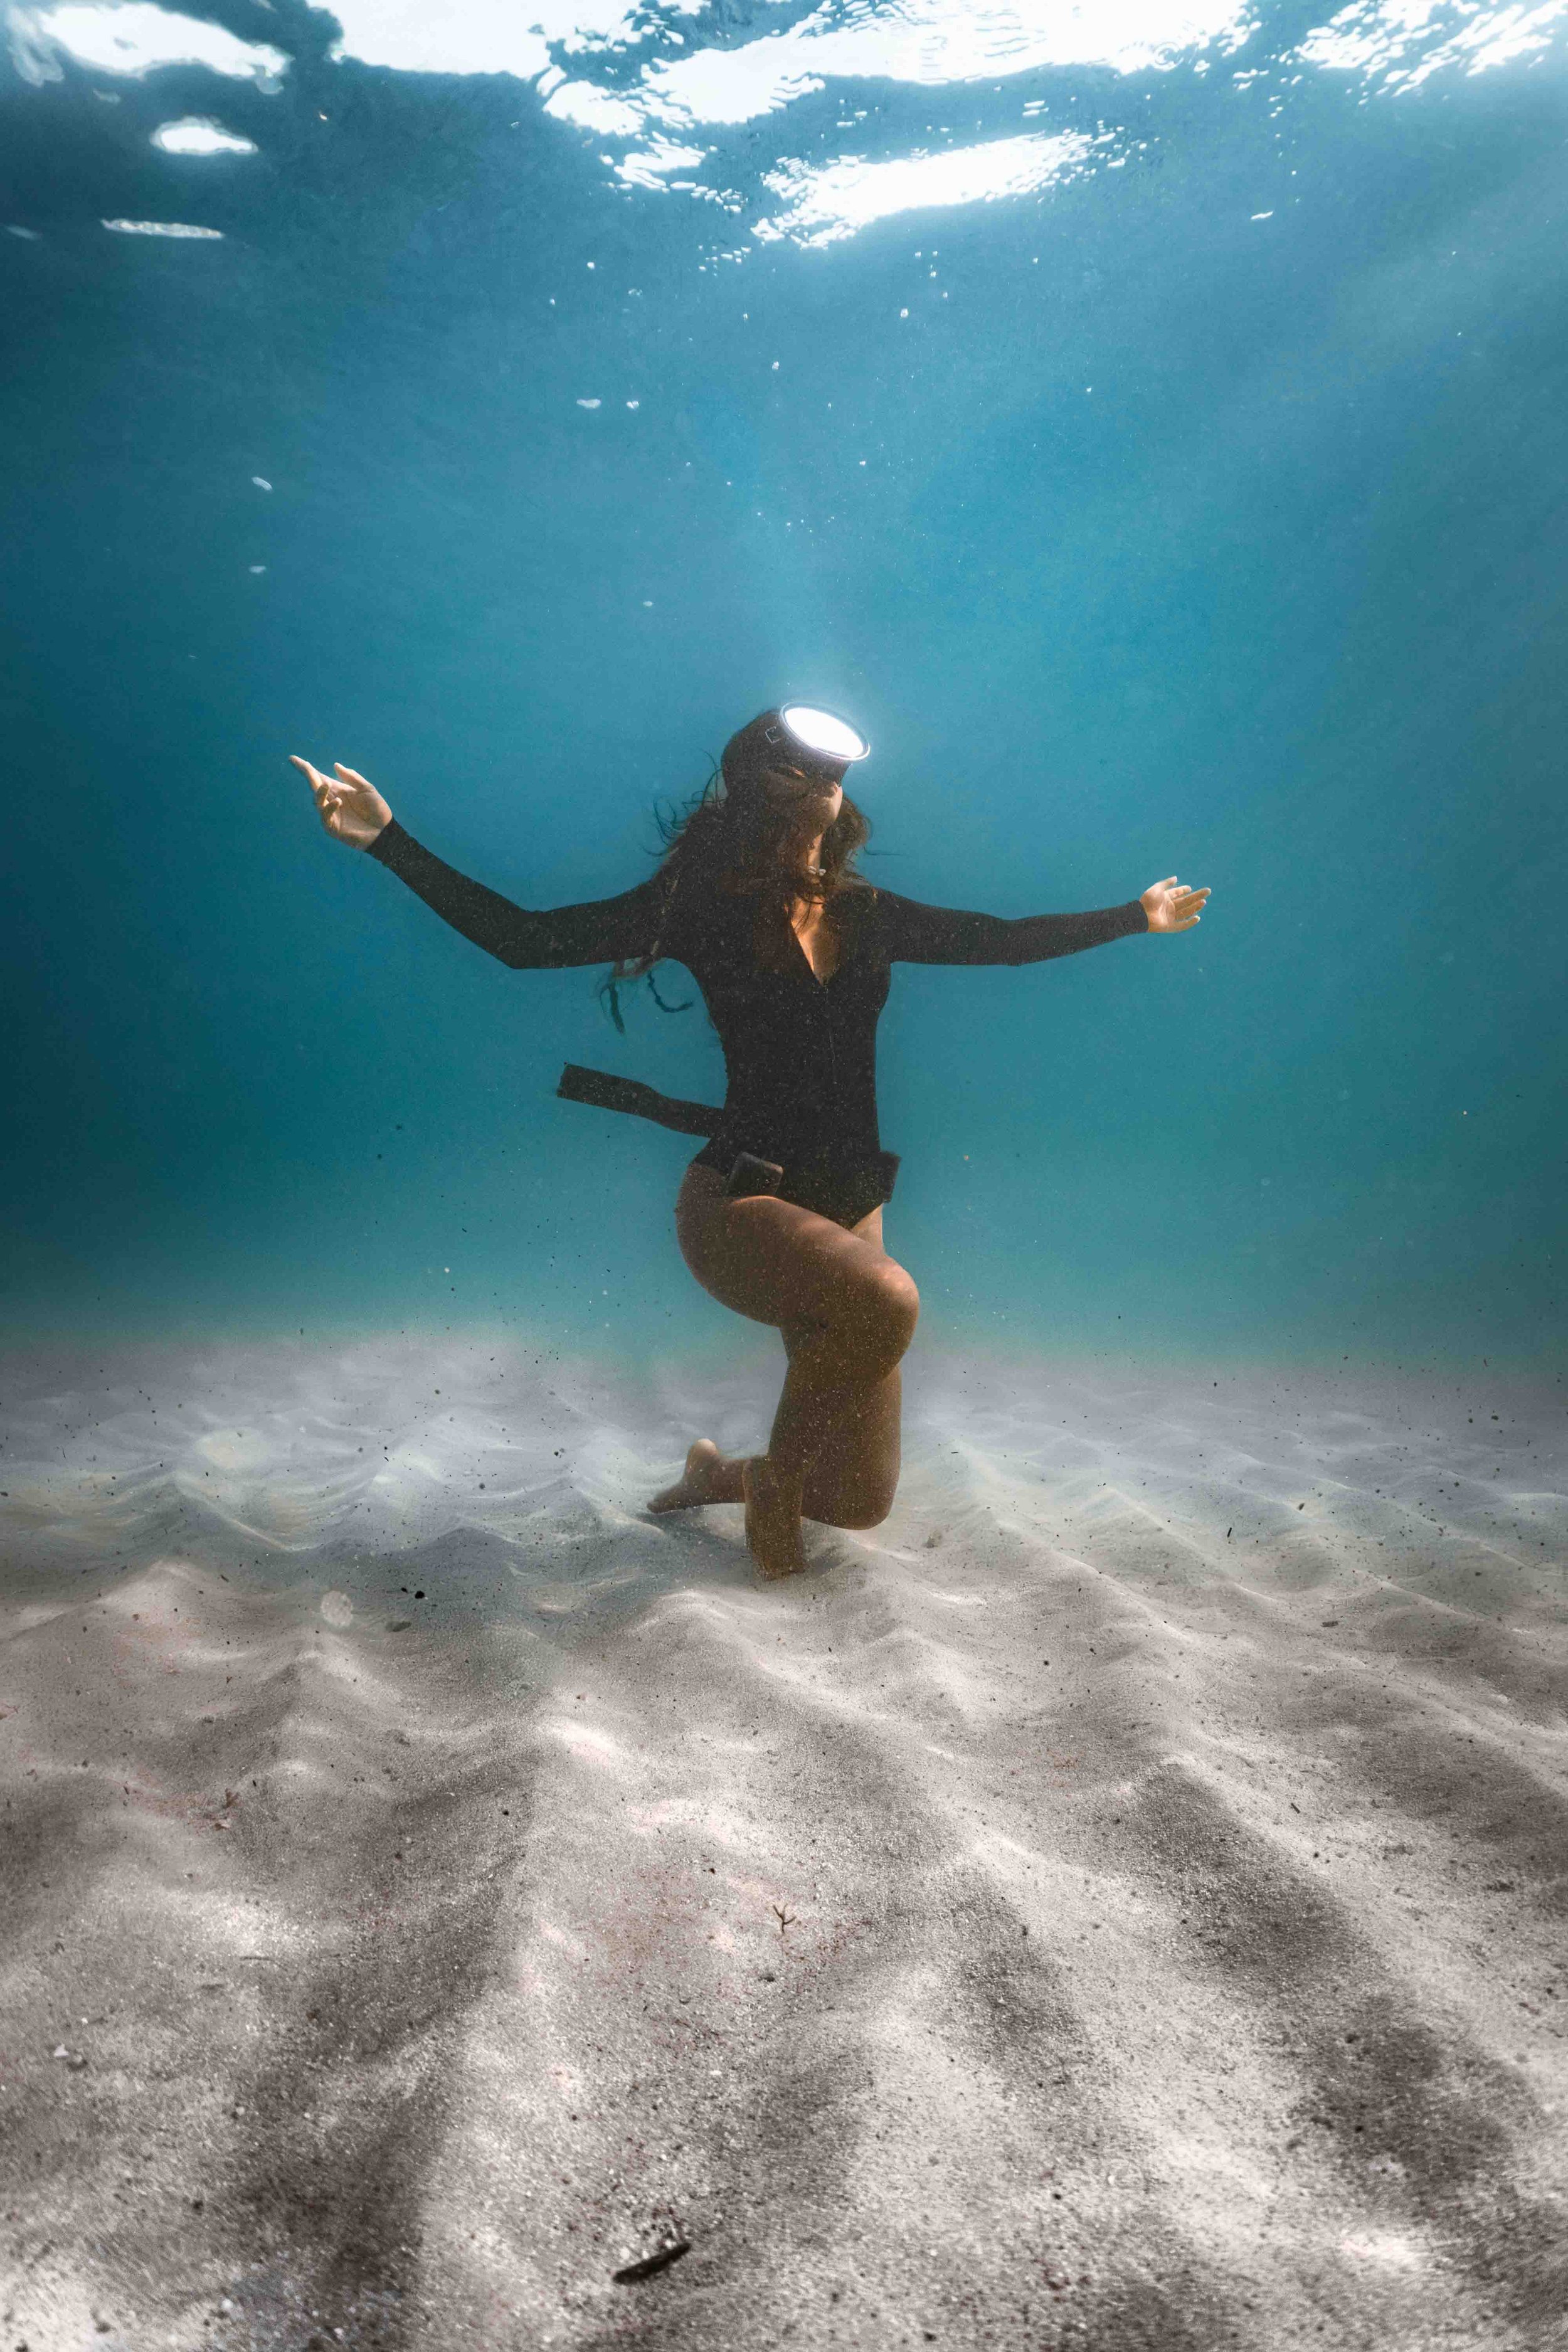
If Your Subject Is a Person
First rule: don’t just jump in and start shooting.
Arrive early. Debrief. Check in with each other. Make sure you’re hydrated and feeling good. Hydration plays a key role in underwater stamina and safety, so yes, it matters.
Go over the plan out loud. Which shots are non-negotiable? Which ones are flexible? Which poses are you starting with?
Show your model the screenshots or references beforehand so they can visualize what you’re trying to create. Underwater posing is HARD. It looks effortless on Instagram, but it’s not. The more clarity you establish before getting in, the smoother it will go.
Also discuss depth limits and comfort levels. Especially if freediving. Maximum depth, minimum depth, breath-hold expectations. Clear communication builds trust. And trust is everything underwater.
Now let’s talk about something I don’t see enough people do: assess the conditions.
Is there wind? The surface will be choppy.
Is there current? Which direction is it pulling?
Is the water murky when you expected it to be clear?
Sometimes you show up and the conditions are completely different from what you envisioned. This is called life. Learn to adapt.
Maybe that dream shot isn’t happening today. Maybe you pivot to surface shots, beach portraits, getting-ready moments. Or maybe you change locations entirely.
Presence over rigidity.
When you get in, I recommend starting with a few warm-up shots. Let the model move naturally. Let both of you settle into the water. If you’re tight on time you can skip this, but it really helps break the ice and calm nerves.
Be patient. With yourself. With your model. With the ocean.
Underwater, you are juggling a lot:
• Your breath hold
• Your buoyancy
• Your fin placement
• Not kicking up sand
• Not touching coral
• Timing your descent with your model
• Composing your frame
It’s a lot. And it can feel overwhelming at first.
This is where presence matters. The moment you stop trying to control everything and start responding instead, your work improves.
If you’re freediving, take proper breaks between dives. Recovery breaths. Reset. Do not rush. Fatigue leads to sloppy technique and unsafe choices.
If you’re scuba diving, things are more relaxed because you can breathe, but depth management becomes critical. Follow your dive plan. Do not risk DCS for a photo. It’s never worth it.
Communication underwater is mostly non-verbal. Hand signals, eye contact, subtle gestures. Develop simple signals beforehand for “again,” “come closer,” “go deeper,” “rotate,” or “last dive.” The smoother your communication, the smoother the shoot.
If Your Subject Is Wildlife
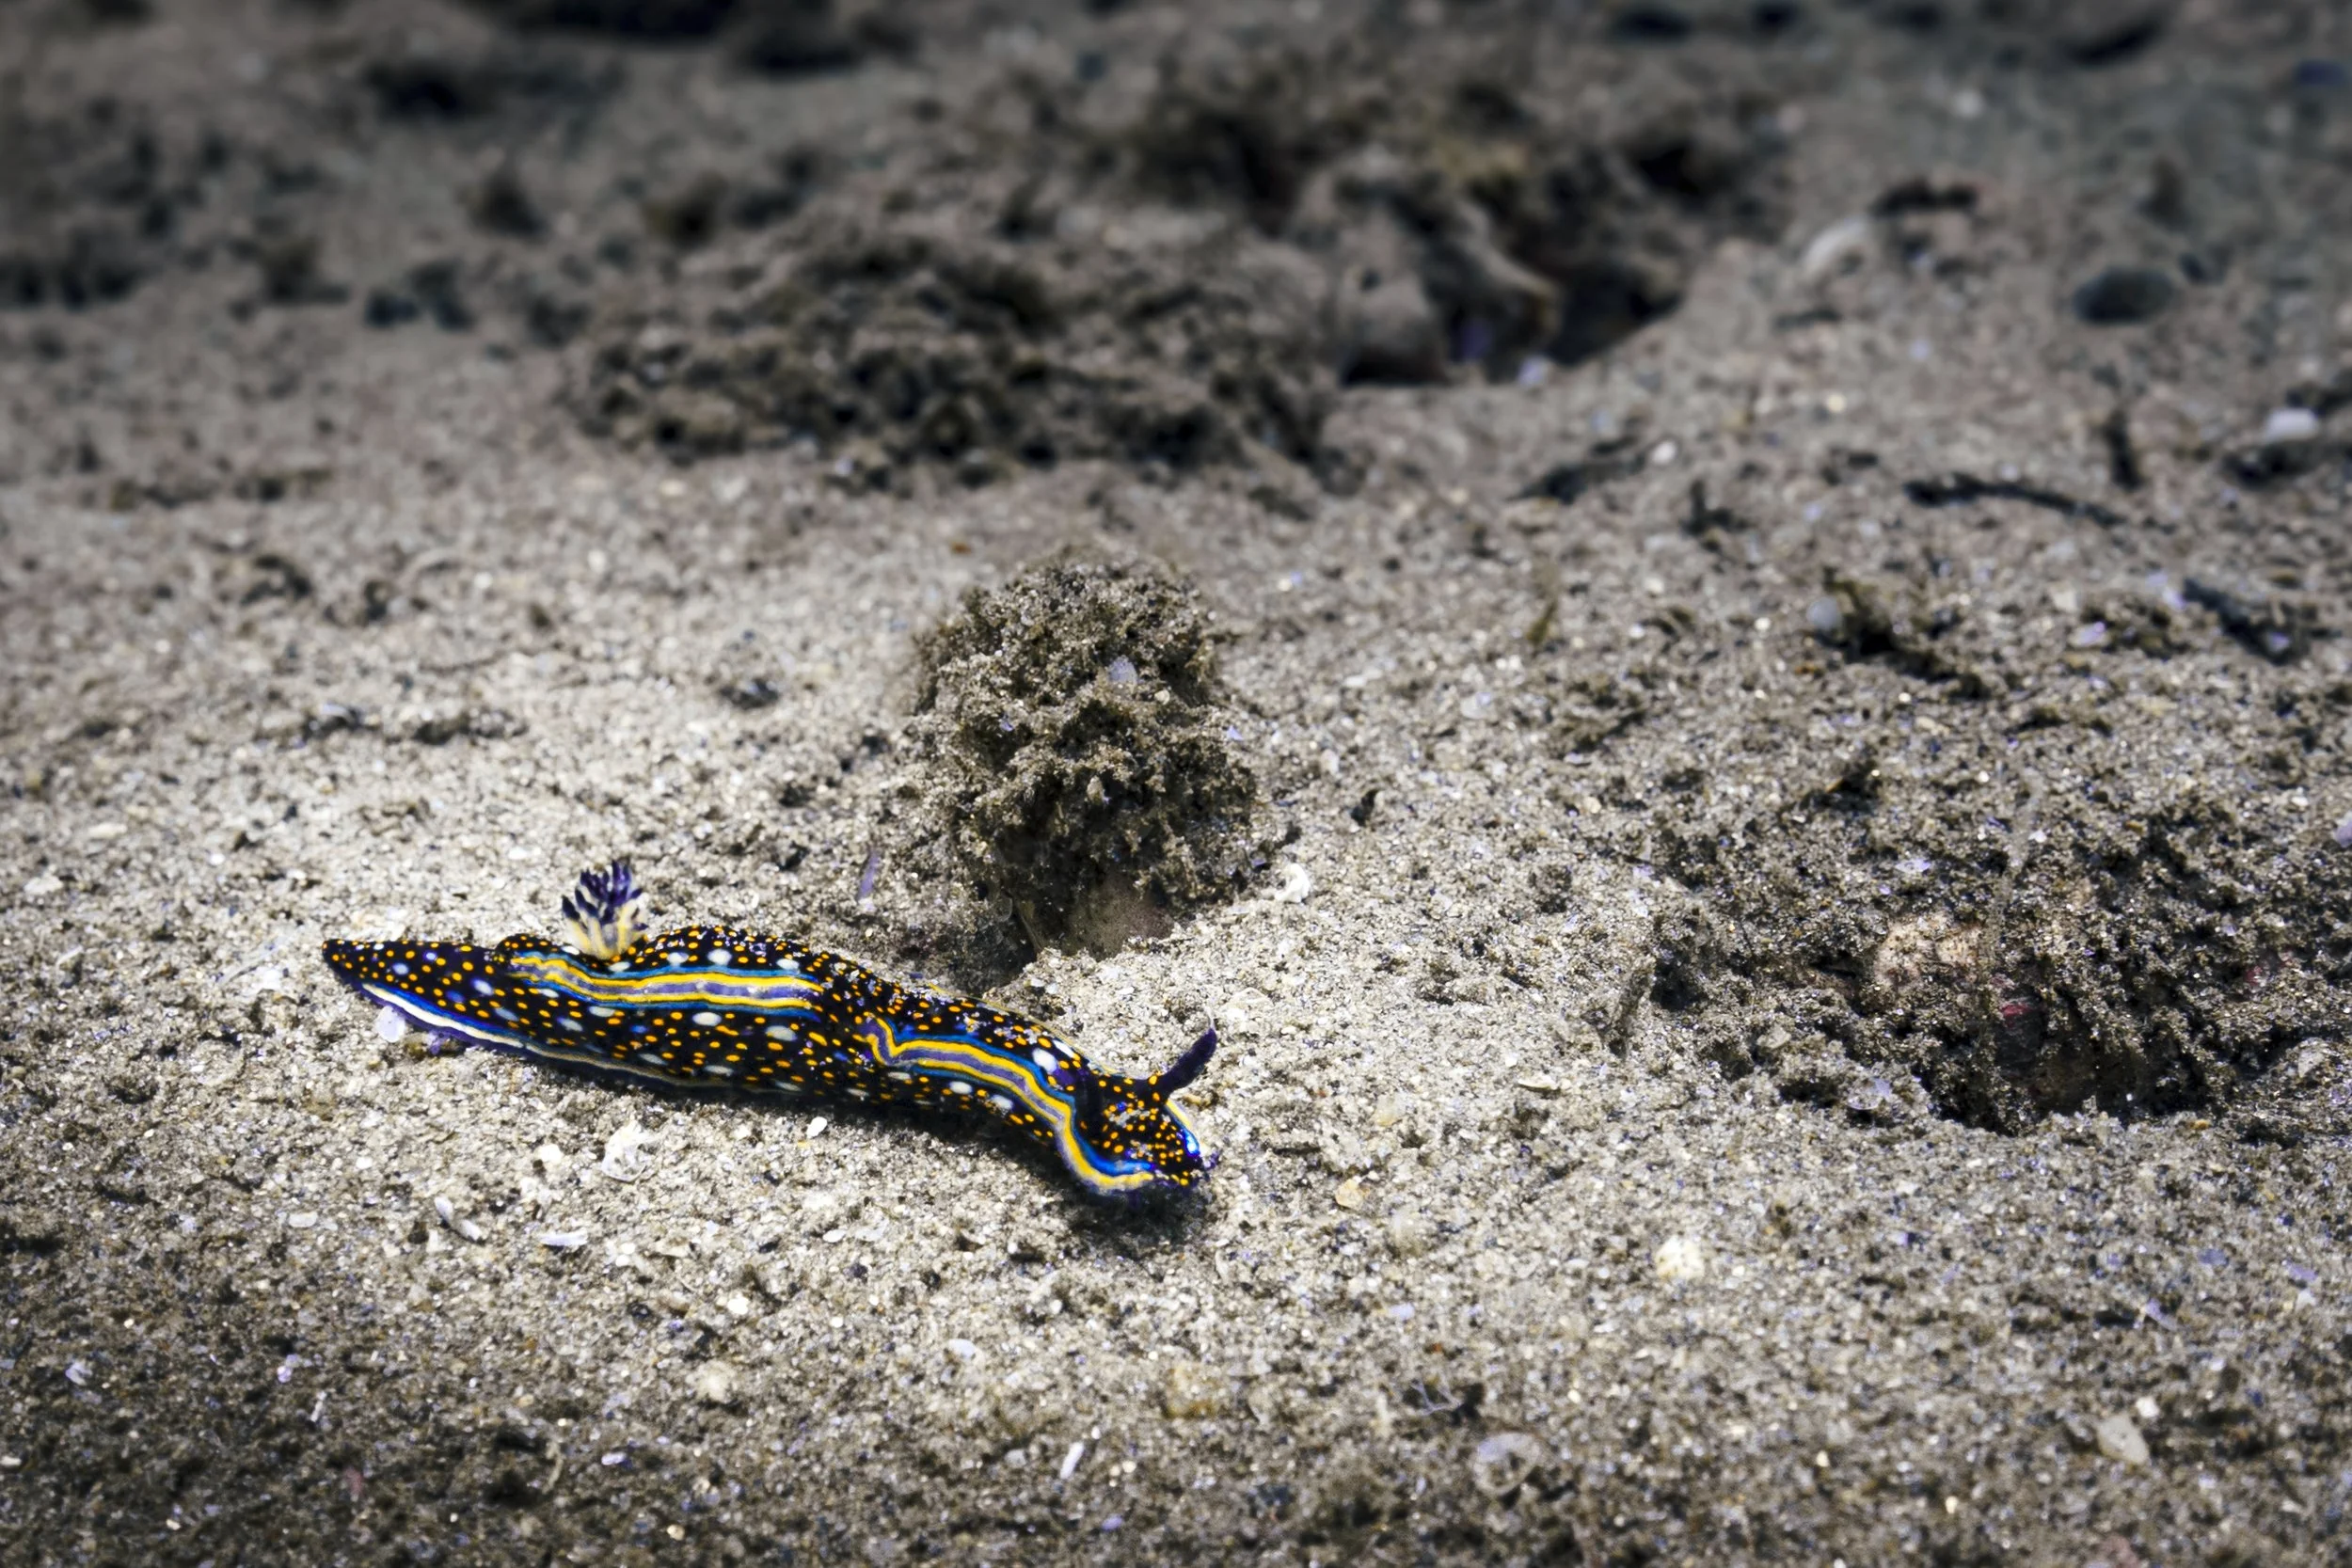
Now we enter an entirely different realm.
Give into the notion that you cannot plan for nature.
You may not encounter the species you hoped for. You may encounter them and they may not want anything to do with you.
Under no circumstances should you chase, corral, swim on top of, or touch wildlife.
Observation comes first. Always.
Assess behavior before you even think about shooting. Are they calm? Curious? Agitated? Feeding? Resting?
Familiarize yourself with the laws and protections in the area you’re visiting. Work with guides who prioritize responsible encounters over client expectations. It might feel less exciting in the moment, but the encounters you do have will be far more meaningful. And that will show in your photos.
It’s important to have an idea of the shot you’d like, but also be ready to pivot. Sometimes the image you imagined cannot be captured responsibly. And that’s when your integrity as a photographer matters more than your portfolio.
Patience here is not passive. It is active awareness.
Sometimes magic happens after 45 minutes of simply floating and observing.
Sometimes it doesn’t happen at all.
Plan for multiple days if possible. The more time you spend on the water, the higher your chances of authentic encounters.
Nature does not operate on your timeline.
The Unexpected Is the Rule
Wind when there wasn’t supposed to be wind.
Cloud cover on a “perfect” forecast.
Jellyfish everywhere.
A leg cramp mid-dive.
Shit visibility.
A tired model.
It will happen.
The difference between a frustrating shoot and a productive one is your ability to adapt.
Safety first. Always.
Some shots feel worth pushing for. But never knowingly put yourself, your model, or wildlife in danger for an image.
Know when to call it a day.
There is wisdom in stopping. In regrouping. In reviewing what worked and what didn’t.
Take mental notes. Or actual notes. Improvement lives in reflection.
And Then…
You wrap your first underwater shoot.
You rinse everything. Including yourself.
And then comes the part I dread every single time: offloading all that footage onto your computer or external hard drive.
I don’t know why, but that specific step in post-production makes me want to procrastinate immediately.
But that, my friend, is Part 3.
Next post, we’ll get into Post-Production. The organizing, the naming systems, the hard drives, the editing, and the part I love and dread equally.
Wishing you salty sunshine 🌊✨
Shirena